Showing posts with label Darice. Show all posts

10.15.2015

Glittered Die Cut // Throwback Thursday

I'm keeping with the girly theme of this month's Throwback Thursday's, and sharing a spring-y card to offset any dreary fall weather.

**********************************
A nice, light fluffy card to life your spirits. :)


This card took me forever to finish, just because I couldn't find the perfect sentiment. I was looking for a celebration sentiment, because I thought a super pretty card deserved a super nice occasion. Then I realized, aren't some of the best cards you get those fabulous ones you're just not expecting? Those one's are my fave, so I finally decided on this 'hello' sentiment - I can't wait to send it out. :)


Yum, I just love glittered silhouettes!


Did you know you can find quickly find all the cards I've made with a particular brand/company super easy? Yep - just look at the tagged cloud on the right sidebar, right underneath Blog Archive. I've tagged all my posts like this for your (and mine too!) convenience!

Thanks for stopping in today and God bless!

SUPPLIES

Cardstock: local craft store
Patterned paper: Dear Lizzy Neapolitan
Stamp: Papertrey Ink Mini Bloom
Ink: Tim Holtz
Other: wooden tag (Darice), ribbon and doily (stash), glitter (Martha Stewart)

Tools: Cuttlebug, Papertrey Ink Mat Stack 1 die, sewing machine

4.12.2015

Layering cards // Avery Elle

I'm a guest over at Virginia's View challenge!


This month's challenge is layers and dimensions, and for me, layering cards are a bit like piecing together a puzzle.
I love pulling random elements lying around on my desk (pros of being a messy crafter!) and making them all work on one 4 1/4 x 5 1/2 inch canvas.
Sometimes I'll begin by pulling those random pieces together, and sometimes I like to make a focal point, and arrange everything around it.
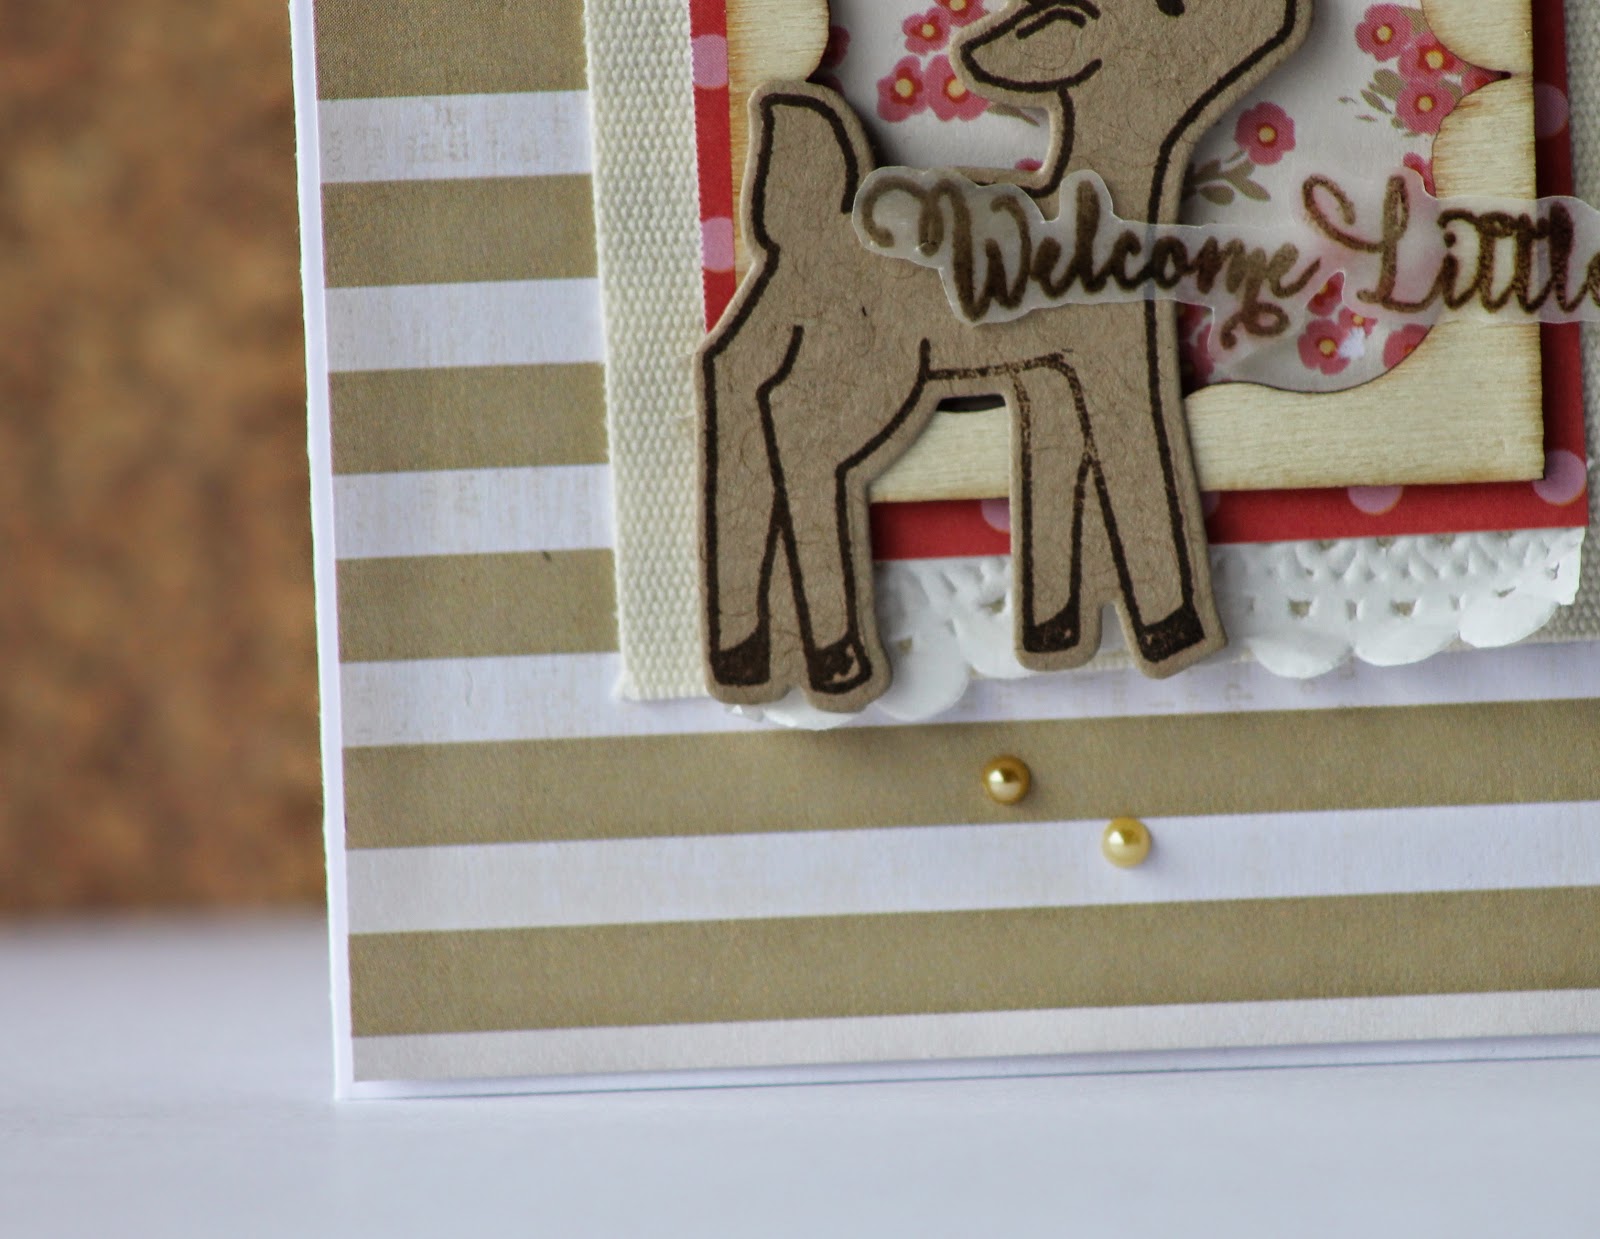
For this card, I knew I wanted to use the sweet little fawn from Avery Elle's Storybook stamp set, so I first stamped that, die cut it, and began to arrange everything around it.


Before I pulled all the elements of the focal point together, I found a piece of patterned paper that worked well with the fawn. The striped paper from the Dear Lizzy Lucky Charm 6x6 paper pad worked very well, because when I do layered cards, I usually try to make sure the largest piece of paper that is exposed on the card is a basic, lighter feel.

If you use a very busy pattern as the main paper, then it tends to distract from your focal point, so for the busier patterns, I use smaller pieces of and tend to concentrate them in one spot. Using papers from one company or paper pad usually makes it easier to make sure the layered papers flow together well.


Once I had my patterns picked out, I looked for textures.
On the focal point, I started with a piece of fabric that was a tag on a pair of pants in its previous life. Then I slipped a light piece of doily underneath the smaller, layered busy patterns, to lighten them up.
I used a wood veneer frame to set the stage for the fawn, and once the fawn was placed, I added some orange butterflies and pearls to add a pop of color to the card.


To make sure the card didn't get too heavy, I embossed the sentiment on vellum and cut it out for an airy feel.

Thanks so much for sticking through this long post, and thanks to Virginia for inviting me! Head over to the challenge blog to see all the amazing entries, and play along for a chance to win a Simon Says Stamp $25 gift card!

*****************************************

7.02.2014

A happy typewriter

...is there really such a thing? I was gonna say no when the thought first popped in my head, but then I thought of one of my good friends who loves to write, and then looking at this card, I almost wonder.

This card was inspired by two things - THIS super sweet card, and then the exploding flower power thing was inspired by THIS pin.


I'm not quite satisfied with the way the card turned out, so I might give it another go except in purple tones, for my writer friend.
Anyways, this is for the new Hero Arts One Layer challenge - I used a bunch of random sets for the flowers, but I primarily used the Typewriter Notes and Sundrifter: Love This. I also used some new to me Hero Arts ink - honestly, I don't know my inks at ALL, so I don't remember which grey shade I used exactly, but I do love their cube sets - a great way for me to see which colors I like and how I like the ink.

Thanks for stopping in!

***********************************
Cardstock: Canson
Stamps: Hero Arts "Typewriter Notes", "Sundrifter: Love This" and other assorted Hero Arts sets
Ink: Hero Arts, Versamark, Tim Holtz
Gem: Darice
Other: embossing powder

Tools: heat gun, water, paintbrush

12.16.2013

You are

....amazing! Thanks SO much for all the sweet comments lately! I just finished finals, had some friends over for a couple days, and now I'm sick, so it will be a while before I can return the compliment, but just wanted to know you are appreciated. :)

Anyways, here's an old Create: Vintage January '13 pub - the brightness of it just makes me happy, and I thought you might like it too. ;)


Not my usually pink and blue color scheme for shabby cards, but I like it for a change. :)


Pretty hemp cord, flower, and metal medallion....


A little navy ink peeking out at the bottom to bring out the navy in the die cut...


Thanks so much for stopping in today and God bless!

*********************************
Cardstock: LSS
Patterned paper: K&Company 'Cut N Paste'
Stamps: PTI 'Year of Flowers', Martha Stewart
Ink: Colorbox, Staz-on
Other: die cuts (K&Company), doily and metal medallion (stash), tag and hemp cord (Darice), brad and rose (Recollection)

Tools: sewing machine

10.09.2013

Just a Note(set)

First off, can I just give a big THANKS for all the super sweet comments everyone has left me on the past couple posts?! Seriously, you peeps rock, and totally brightened up my super stressful school week. :)

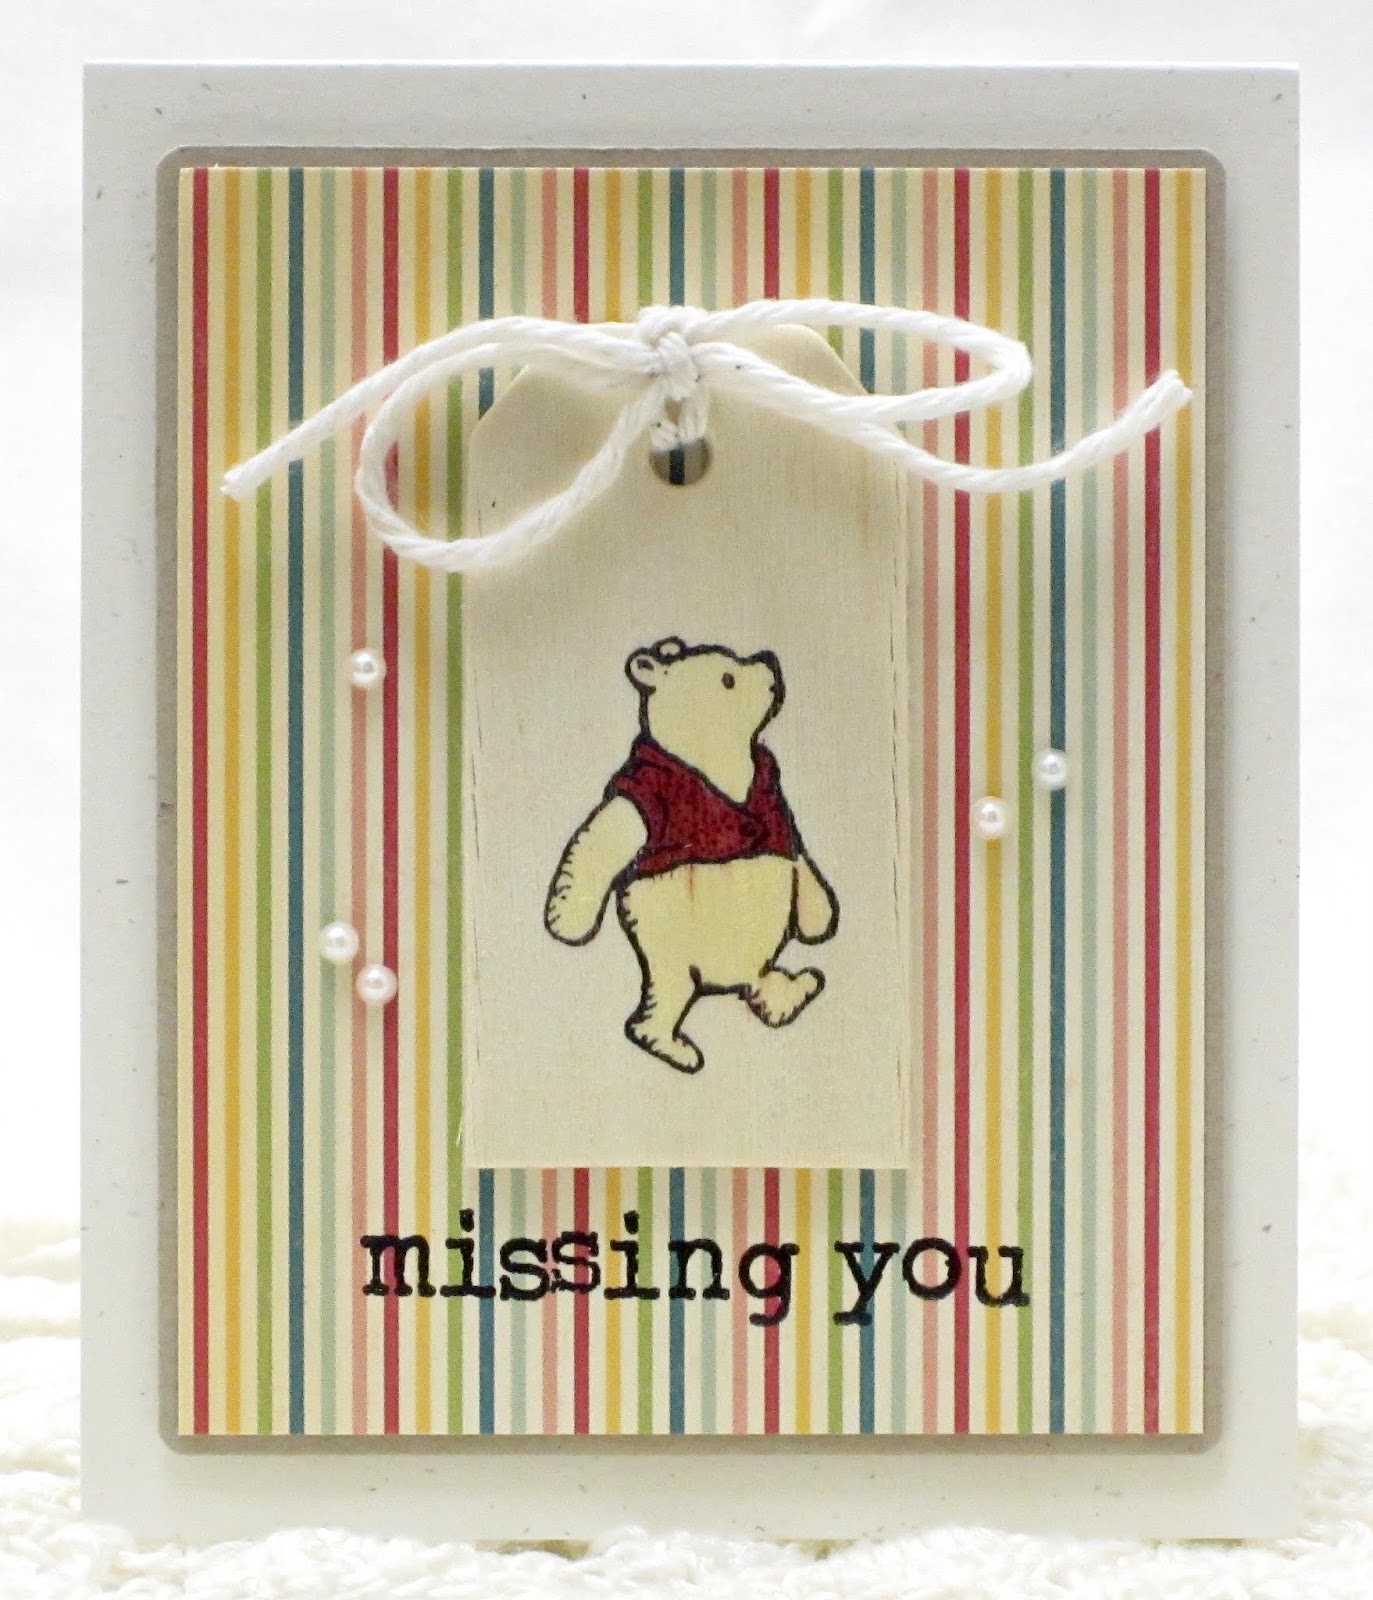
This is for the Simon Says Stamp (Use a rubber or clear stamp), and The Kraft Journal (Bow) - it's a little Pooh card set! 


Decided to use some adorable old Pooh stamps I have, and combine it with some October Afternoon scraps and yummy wooden tags.  :)

Oh, before I forget, the winner of THIS little giveaway is Dawn Turley - Dawn, shoot me and e-mail and I'll mail out the stamps as soon as I can squeeze the time in!

I have one pretty big midterm this Friday, and a bunch of tough projects the next week, so if yinz could keep me in your prayers, I'd really appreciate it! 

Thanks for stopping in and God bless! 

******************************
Cardstock: LSS
Patterned paper: October Afternoon
Stamps: vintage stamps, Waltzingmouse, Hero Arts, Papertrey Ink
Ink: Memento, Tim Holtz
Other: string and wooden tags (Darice), gems (Michaels)

5.04.2013

Hello

Another card for Paulina's Craft Dash today! Challenge #17...


...accepted.
Also, for the Simon Says Stamp 'Just Because' challenge and the Studio Calico challenge.

This is basically what I did instead of studying/catching up on sleep for a big test on Monday...


This little number took my 9 minutes and 47 seconds to make...there are certain things I wanna change with this card, but like I mention in the video (below), that's okay because if I'm not completely in love with my card, I'm more likely to send it out. ;)


I'm pretty much in love with these wooden tags - I think the really cool inky/stampy people would have a ball with them, because they do cool things like bleed. ;)


If you want to know how I made (yeah, made) those little dots, check out THIS video. If you wanna see the entire combobulated process of making this card, look at THIS video.
Oh, and the color is kinda peachy - I wasn't sure if the third color in the challenge was peach or pink, because the design team samples varied, so that confused me.

Thanks for stopping in today and enjoy your weekend! God bless!

************************
Cardstock: LSS
Patterned paper: Studio Calico
Stamp: Papertrey Ink
Ink: Distress Ink
Other: wooden tag (Darice), butterfly (Etsy), cabochon (GCD Studios), ribbon, gems, nail polish, kraft envelope (Maya Road)

2.12.2013

Throwback Tuesday #2

In case you haven't seen yet, I'm having a little monthly challenge here on the ol blog-a-roo!

The deets: every Tuesday, I will post a card that has been sitting in the draft closet too long. At the end of each month, I will randomly select a winner from all the valid challenge entries!
The challenge: link up an old papercraft related blog post, card photo, or post one of your old drafts/pictures! An additional entry will be given to those who comment on the Throwback Tuesday posts for that month.
The prize: a big ol' box stuffed with scrapbooking goodies!


Ladies and gents, I present to you, Throwback Tuesday #2!


I try to make cards with subjects I would actually use...a welcome or home card is not something I, as a college student, would really use. However, the sentiment absolutely applies to me - I am such a homebody. ;)
Anyways, as to analyzing the card - first off, you can't tell the in the photo, but this card was very loosely adhered together as I was running out of adhesive at that time. Plus, the adhesive was rather crummy quality (I didn't know it at the time), resulting the in the card falling apart shortly after. If there's one pet peeve I have  when it comes to cardmaking, it's cards that fall apart! So, that set aside, I have to say, the only thing I would change about the card is round the corners of the card to soften it up a bit.
While this card is definitely not something I would be proud of making at this stage, I really don't see a lot technically wrong with it...or maybe it's just me being so out of the cardmaking loop at this point, that I'm blind to all errors. ;)

Enter your links below! :)


******************************
Card recipe
Cardstock: Craft supply, Bazzil
Patterned paper: Doodlebug Designs
Sticker: Doodlebug Designs
Ribbon: Offray

Tools: trimmer, adhesive, sandpaper, scissors

12.10.2012

Sledding

...hasn't been a real possibility here yet, as we've hardly gotten any snow! Right now, that is perfectly with me, at least until this finals week is over. ;) After that, let it snow, let it snow!

This card was published in the November Create magazine...


Gah! I love this brad (with hinges cut off) on these metal snowflakes!


I love sticking random objects in here and there - this little sticker added a pop of green I needed here, and then a little 'button' for the finishing touch.


And a big ol' fat silky bow...if you've never tried silk ribbon before, you need to try it soon! It's the loveliest stuff to tie into bows - soooo....silky! ;) It's totally worth the price!


I don't have this card in the Etsy shoppe, but I have added a couple! Here's a few peeks;


More can be found in the shoppe. :)

And now for some pretty slick news! Check THIS out - I can officially say I'm a covergirl. ;)


Pretty much my typical shabby card - pretty papers, die cut, interesting focal point, doily and some fibers. I'll have a giveaway celebrating this and the end of finals (last one on Friday) soon. :)

Thanks for popping in and God bless!\

************************************
Cardstock: LSS
Patterned paper: October Afternoon 'Sidewalks'
Fibers: ribbon (Creative Impressions), burlap (LSS), hemp cord (Bearydo Shoppe)
Other papers: sticker (October Afternoon), die cut (K&Company)
Other: metal snowflakes (Bearydo Shoppe), brad and pearl (Michaels), doily (hotel), wooden tag (Darice), button (stash)

Tools: trimmer, adhesive, scissors, sewing machine

8.09.2012

Project Thursday {just a note}

Today I'm over at the Precious Remembrance blog with a card using the Calender stamp set, as well as a little spur of the moment video on the design process behind it. I thought you might like to see my thought process (or lack thereof ;)) when making my cards.


And the video...


So a few extra shots of the things I added on afterwards, as well as why I added them...

Here I changed the twine because I wanted a little more color and I felt the jute kinda blended in with the butterfly. I also changed the gem colors and sizes to match with the patterned paper a little better.
You might also see the faint watermark image of the calender on the tag - a little extra something that makes me feel a bit better about a card. :)


I also distressed the edges of the paper a bit with the back of my scissors (so I wouldn't cut myself or dull my scissor blades), and then added a paperclip...mostly because I think they're so darn cute. ;)


 That's it for me today! I hope you enjoyed this little 'behind the scenes'! Have a blessed one!

************************************


Supplies not shown:
Cardstock: LSS
Stamps: Precious Remembrance 'Calender'
Die cut: K&Company
Gems: Prima 'Say It In Crystals'
Other: button, metal butterfly, doily, wooden tag (Darice)

Tools: trimmer, adhesive, scissors

7.06.2012

Cover girl

...for the front of GCD's July issue of the Paper Cut! Thought that'd catch your eye. ;)


I'd never made 4th of July cards before, so I wasn't sure where to go on the challenge Heidi gave us. Then I thought of all those rustic-y patriotic elements I'm always seeing in my neighbors houses - rusty metal hearts and star hangings, toned down, deep red and blues, and the krafty brown color.
So with that in mind (and determining beforehand I wanted to use some cute clothespins I'd been having trouble working onto a card before), I made these two cards...


Hearts and stars sketched out on the backside of the paper and then cut out....


Strong Glossy Accents (the cardmaker's super glue, in my opinion) holds the clothespins firmly in place.


A typwriter typed up sentiment contributes to the rustic cause (and I didn't really have a choice - I had no patriotic stamps!)


And something I wanted to show you - I am a SUPER messy crafter most of the time. Some proof...


...the sad thing is that this is like a 6.3 on the scale of 1 to 10 on how messy my desk gets - it's a good thing you didn't see the surrounding area though! Lol, it looked like a hurricane just blew through! Though, this was taken before I got the second work surface (an old table), so things have improved. ;)

Btw, if you leave a comment on THIS post, you will be entered to win all of the Oh Happy Day papers!

*****************************
Cardstock: Strathamore, Bazzill
Patterned papers: GCD Studios 'Oh Happy Day'
Stamps: Hero Arts 'Ledger'
Ink: Versamark
Other: gems (Michaels), clothespins and hemp cord (Darice)

Tools: sewing machine, trimmer, scissors, adhesive

8.01.2011

Vintage kitties

You know, I was just looking at my dashboard, seeing all the new blog posts, when I realized I hadn't posted in awhile. It's kinda funny, when I started this blog, I made cards just to blog, but now, I completely forget about blogging at times! ;)

Anyways, here's a card that was going to be used for the Create blog in April (when I was CARDS featured designer), but I think that was around the time when something happened to the blog and it got all messed up, so this wasn't ever posted. Kinda stinks, as I love seeing how the photographer takes pics of my cards and I was curious about this one - I don't always like their presentation, but it's always interesting to see what they come up with!


Okay, so I was in this weird little "take-the-picture-at-a-strange-angle" phase, but not anymore. Mostly because I'm too lazy heehee. ;)

 
The image I used is from ClipArt on our computer...rather random, but sweet.

So, thanks for popping in today - enjoy your day! :)

****************************************
Card recipe
Cardstock: Bazzil
Patterned paper: October Afternoon "Fly a kite"
Stamp: Hero Arts "Thinking of You messages"
Ink: Staz-on, Colorbox
Image: Clip-Art
Ribbon: Darice
Doily: Wilton
Other: glitter

Tools: trimmer, adhesive, scissors

9.11.2010

An elephant....

....never forgets, although my Mom said she would put "Too Late!" inside this card. ;)

This card is for the Simply Scrapping Crafts Back to School Online Crop, which is still going on now! You can find the link to the site on my sidebar - tons of awesome prizes up for grabs!


Do I really need to write instructions? ;)

Anyways, enjoy your weekend  and thanks for stopping in!

ETA: I was having some problems with my blogger background - apparently the designer of this template had to move her images, thus all the problems. Since I had made a few adjustments to the template, it took me while to add these same adjustments to her updated template. But, all's well that ends well - let me know if you experience any problems! :)

****************************
Card recipe
Cardstock: Darice
Patterned paper: DCWV
Stamp: Hero Arts
Ink: Staz-on
Half pearls: Kaisercraft
Other: embroidery thread

Tools: trimmer, scissors, adhesive

8.02.2010

Shabby congrats

Hello!

Posting a card I made awhile ago for the 2S4Y challenge, but didn't have enough time to blog about, so I added to Flickr.

But before I start rambling, I just want to thank you all again for all those sweet encouraging comments for my past few cards! They really mean the world!

Now on to the card...
It's been a long time since I've made a card that opens this way, and it will be a long time before I do again! I just don't like taking "flat" pictures of cards, thought this one came out well enough...


Instructions: Trim card base, and cut out patterned paper. Adhere patterned paper to base, then sew near border. Tie bow twice around base. Next, stamp images onto cream cardstock and sew around border. Stamp balloon image onto separate piece of patterned paper, and cut out, attaching to balloon image on cream cardstock. Cut out black polka dot patterned paper, and distress edges. Attach stamped cardstock to this paper, than attach (using foam squares) to card base. Stamp sentiment onto separate piece of patterned paper and attach to base. Distress card with ink.

Mmm, I think I'm addicted to this elephant stamp - he's so adorable! Oh, and one other thing - I got THIS mini guillotine trimmer at Michaels for $6.99 (not including tax ;)) - retail price? $16.99. ;)

Thanks SO much for popping in - have an awesome week! :)

******************************
Card recipe
Cardstock: Bazzil, Darice
Patterned paper: Girls Paperie, October Afternoon "Thrift Shop"
Stamps: Hero Arts "Elephants" and Sugarloaf
Ink: Colorbox
Ribbon: Handyed - available HERE
Other: thread

Tools: sewing machine, adhesive, trimmer, scissors

7.30.2010

Thanks for being my friend

Hello!!

I have been dancing on air ALL morning! Why? Because of THIS! I am SO thrilled that I will be "working" (read - playing!) with Lisa!! THE Lisa Spangler! Her cards are always so fun and cheery and this is just SUCH an honor!!

Anyways, in case I'm boring you, I thought I'd share this weeks Stamp and Scrap challenge over at SSC...


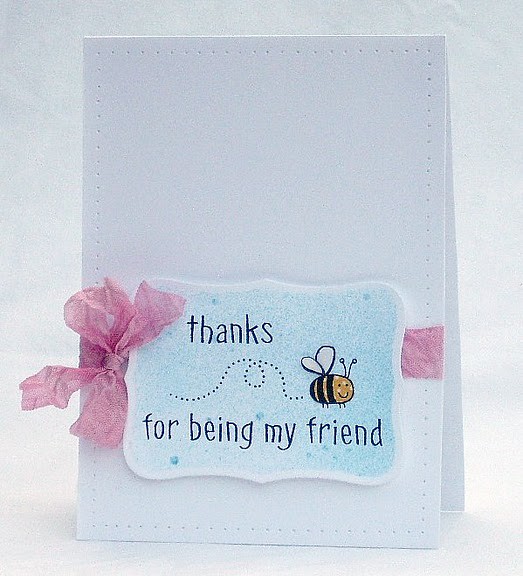
Instructions: Trim and score card base. Faux stitch near borders (or use sewing machine - I made this when my sewing machine was broken). Cut out piece of white scrap paper and cut out with die. Before separating die and paper, spray with mist and let dry. Once dry, separate die and paper, than stamp image and sentiment onto paper.Stamp image onto patterned paper, and than onto another piece of white scrap paper, than cut out and piece together. Tie bow around base, and than adhere embellished die cut using foam squares.

Only fitting to showcase some Hero Arts stamps today - this company and community has made a tremendous impact on my cardmaking. The kind words, sweet comments and notes of encouragement from the Flickr gals helped me SO much - if you are a part of the community, you know how truly awesome it is. :) So thanks Hero Arts, for being my friend. :)

Have an awesome weekend. :)

**************************
Being my friend card recipe
Cardstock: Darice
Patterned paper: October Afternoon "Fly a Kite"
Stamps: Hero Arts "Be happy"
Ink: Staz-on
Ribbon: Seam binding available HERE
Other: Tattered Angels glimmer mist, nail polish (for shine on bee wings)

Tools: trimmer, scissors, adhesive, foam squares, pin, Nestabilities, Cuttlebug

7.24.2010

Be happy

Hi there!
A card for the EBTKS challenge - a sketch challenge, which is perfect, as I have been in desperate need of sketches with my mojo rather low.
So with the sketch, and a little inspiration from our newest Hero Arts hostesses (congrats again, ladies!), I made this simple card....


Instructions: Trim card base and score. Cut out patterned paper and sew near edge. Adhere to base, and than, using a strip of tape to hold it down, ruffle a long strip of tissue paper down the card base on top of the patterned paper. Next, cut out die, and spray with mist. Stamp image onto die, than stamp image onto white paper. Color and cut out image in white paper, than adhere to die cut using foam squares. Adhere die cut to base, and stamp sentiment near the bottom. Distress lightly with ink pad.

I don't really color images that often, as I like to paper piece more, but I decided to throw caution to the wind for this card (you can tell I'm really bold, right? ;)). Used some plain ol' colored pencils and finished this card lickety split. And the thing that made ME really happy was that the "b" in the sentiment didn't come out blotchy like it did on my last card - yay!
Oh, and one more thing; I was blog hopping, when I discovered THIS set from Hero Arts - another one for the wishlist!

Thanks for stopping in!

**************************
Card recipe
Cardstock: Darice
Patterned paper: Girls Paperie
Stamp: Hero Arts "Be Happy"
Ink: Staz-on
Other: colored pencils, thread, tissue paper, glimmer mist

Tools: trimmer, adhesive, foam squares, Cuttlebug, Nestabilities, sewing machine

7.16.2010

Will you enjoy?

Hello there!

The sewing machine is working again! Oh frabjuous day, callooh, callay (I hope someone else knows what poem that is from ;))! It was out for a month or two - months of torture! ;) Anyways, I decided to make a card based off of this weeks 2 Sketches 4 You sketch, and went berserk with the sewing machine in my delight...


....and in the process went a little off the sketch. So, today, with a little bit of spare time, I pulled this together, following the sketch more closely....


Instructions #1: Trim card base and cut out patterned papers - sew: Cut out image and and black patterned paper with circle templates. Adhere sticker around black patterned paper circle, than adhere image on top. Sew around. Adhere to base, and add ribbon on top. Cut out small heart, and cover with nail polish (for shine). Adhere to image, and finish off with half pearls.

Instructions #2: Trim card base and cut out patterned paper. Adhere patterned paper to base, than pop out die cuts. Adhere die cuts to base. Stamp, cut out and frame sentiment, than adhere to base. Tie bow around base, cutting a slit near the score of the card for the ribbon to go through.

Not much else to share today - thanks for stopping in!


*************************************
Card #1 recipe
Cardstock: Darice, Bazzil
Patterned paper: October Afternoon "Fly a Kite" and "Thrift Shop", Crate Paper
Ribbon: American Crafts
Half pearls: Kaisercraft
Stickers: Making Memories

Tools: trimmer, scissors, sewing machine, adhesive


Card #2 recipe
Cardstock: Darice
Patterned paper: Crate
Stamp: Hero Arts "Tree, Birds and Messages"
Ink: Unknown
Die cuts: Crate
Ribbon: Offray


Tools: trimmer, scissors, adhesive

5.15.2010

Old, new, red and blue

 Hello there!

Another Etsy Inspired post - this weeks shop is Creation Designs - vintage yummieness. I chose to be inspired by taking the colors/shape of THESE goodies for my background paper...

But also giving credit where it is due, I must say I was also inspired by THIS beautiful card from Sarah Martina, an amazing artist I discovered several weeks ago (I've been a silent stalker on her blog since ;)). Mmmm! Love it!

My first "truly" vintage card...


This card was a little tricky to take pictures of (as in, I had to take 79 pictures before I figure it out "tricky"!) - the frame is shiny, so it was hard not to get too little or too much light. 

There is also a green tag tucked in the envelope - it shows up better "live" than in the picture.


I had to add a little fiber, to I tied some string around.

The sentiment is stamped on mulberry paper, and I just cut the edges out to resemble the tape, a part of Sarah's card which I really liked.


I created this with the "Something old, something new, something red, something blue" idea. See if you can find everything (the "new" one might be tough) ;)

And you know, I don't really know where to start with this card. I had just taken my Making Memories Vintage Remnants kits out, and these pieces were just lying next to each other, though not arranged in the way I have them now. So I guess that's all the deets. Sorry!

Now I've spit all that out, take a peek at what the other girls have created by visiting their blogs:
Thanks for looking!

****************************
Old, new, red, blue card recipe
Cardstock: unknown
Stamp: Sugarloaf
Ink: Ink It Up!
Elements: Everything from Making Memories Vintage Findings except medallion ( ), rub on (Basic Grey), doily (Darice) and half pearl (Kaisercraft)
Tools: trimmer, adhesive, foam squares, scissors