Showing posts with label Studio Calico. Show all posts

2.23.2016

Threadless Stitched Border Birthday // Lawn Fawn

I'm going through my last midterms ever right now, so today's post is a quickie...


I wanted to see how the robot would stamp and color on fabric, so I played with that. Then I colored a Studio Calico wooden die cut, and made a custom "ticket" to settle the image and sentiment on.
For the border, I simply stitched the cardstock without using thread - this is one way to get that punched/dotted look that a lot of dies have.


This card is for the Lawnscaping Celebration #124 challenge.


Thanks so much for stopping in and God bless!

SUPPLIES


Cardstock: Canson
Patterned paper: Crate Paper
Stamps: Lawn Fawn Beep Boop Birthday
Ink: Stazon, Versamark
Other: wood veneer (Studio Calico), fabric (stash)

Tools: sewing machine, Cuttlebug, Lawn Fawn Beep Boop Birthday dies

8.02.2015

Stamp Smooching // Papertrey Ink

So quick disclaimer - I had a crazy week studying for my calc final (which went really well!), so this card and it's photos were made/taken a lot quicker than my typical snail pace, so the photos at the very least aren't up to par today. However, I do need to get this in before the challenge deadline, so you will be subjected to the subpar today, but don't worry, I won't make this a regular thing. ;)

This card was made for this weeks Papertrey Ink Make It Monday challenge and Simon Says Stamp Wednesday Anything Challenge.


In her instructions on texture kissing, Lizzie Jones recommended not using juicy inks - well, I was fresh out of non-juicy inks in the colors I wanted to use, so I had to use my juicy Studio Calico Color Theory inks.
The result was a maybe not so crisp first impression of the technique, but the Color Theory inks work really well for generation stamping, and so I was able to get a second impression of the texture kissing.


I'll be sending this on over to my brother and his family, who just moved to Utah (blah). It's kind of belated, but I still think it's fun to receive handmade cards in the mail, late or otherwise.


I didn't have any orange cardstock that matched the little chick color, so I used the ink itself to color a short strip of cardstock, then added a LOT of powder so that when I stamped my sentiment in Versamark, the embossing powder would only stick to the sticky stamped sentiment.

I'm off to beat my siblings in a game of euchre - enjoy the rest of your Sunday!

***********************************
Cardstock: Pat'Catans
Stamps: Papertrey Ink "Wet Paint", "Postmarks" and "On the Farm"
Ink: Studio Calico, Versamark
Other: embossing powder (Hero Arts)

Tools: heat gu

7.12.2015

Framed Sentiment + VIDEO // Altenew

Hiya peeps! I hope you're having a nice Sunday so far - I'm just coming off an unplanned but totally wonderful two hour nap.

image source

I'm a big believer in naps, just like Winnie Pooh.

Anyways, I'm popping in real quick with a card for the Altenew Video Challenge, and yet another card for Virginia's View 100% Stamping challenge.


This was a surprisingly quick and easy card to make/film. Generally, I sorta have my cards planned out before I turn on the camera, but with this one, I just ran with it.
I knew I couldn't go wrong using Painted Flowers, so I started by using them to create a frame of sorts around a stamped sentiment from Vintage Roses (also another stamp set you can't really go wrong with) that I used as a guideline.


Once all the flowers were stamped, I cut out the original stamped sentiment, and adhered it to a navy cardstock panel that had the sentiment heat embossed in white.
I topped everything off with some pearls and some ribbon (sidenote: it has been forEVER since I've used ribbon!!)

So, if you want to actually hear me say all that, enjoy the video below. ;)


Thanks so much for stopping in and God bless!

***********************************************
Cardstock: Bazzill, Michaels
Stamps: Altenew "Painted Flowers" and "Vintage Roses"
Ink: Studio Calico, Versamark
Other: pearls, ribbon, embossing powder

Tools: heat gun

6.13.2015

Watercolored Roses // Altenew

Popping in with a simple card for Simon Says Stamp Wednesday challenge (friends), Simon Says Stamp Monday challenge (plants) and Altenew's From Places Abroad: Tunisia challenge. As with last month's challenge, I was mostly driven by the striking colors - navy, teal, and orange/gold.


I was really just playing around on this card. For the flowers, I sometimes lightly misted them with water before stamping, and sometimes I stamped them directly and went back in with water and a paintbrush to soften things.
I don't know about you, but I am a huge fan of the watercolor trend - messiness is not only encouraged, but required! ;)

Oh, and isn't that sentiment so fun? I know many friends who this would be perfect to send to.

Thanks so much for stopping in and have a blessed weekend!

*************************************


Cardstock: Canson
Sentiment stamp: Papertrey Ink
Colored inks: Studio Calico

6.02.2015

Window Card // Hero Arts

Hero Arts has a new challenge on the blog - Tic-Tac-Toe! How fun is that??

Here is a Mother's Day card (at least I'll be prepared for next year!) utilizing the challenge, as well as the Simon Says Stamp challenge (anything goes)...


I finally got my hands on the Hello Stamp and Cut after waiting for what felt like forever, and lemme tell you, it's pretty hard to put this stamp set/die combo down! I love how this set covers a multitude of occasions - a solid go-to sentiment set!
For my card, to make sure the accompanying sentiment, "mother's day", didn't get lost, I heat embossed it in white on black cardstock. Then I adhered the delicate "happy" above it using Tombow liquid glue (I finally joined the Tombow bandwagon after watching dozens of Kristina Werner's videos)


I thought that The Fox Says stamp set would go perfectly with the sentiment - as one kid out of nine, I didn't get too much nuzzling time, but when I did, I loved it!
The coloring isn't too fabulous - I'll be honest, if I color with anything aside from watercolors, the results are gonna be far from perfect. But in this case, I thought the coloring worked...plus (as is always the case) I was lazy.
;)
The window was created using circle dies - I had to roll it through my Cuttlebug twice, since there were four layers of paper to cut through.


Here's the playing board...


I did the far right vertical row - heat embossing (sentiment), die cutting (sentiment) and my favorite color (for cards - pink!)

Thanks so much for stopping in today and have a beautiful day!

**************************************

5.12.2015

Dry Embossed Smooshing // Avery Elle

Six days away from the blog, and I feel like I've fallen off blogland earth.

Not cardmaking world though, as I've been celebrating the beginning of summer break by making a few cards.
Today's card is for the AEI{heart}U challenge (spring) and the Simon Says Stamp Wednesday challenge (sentimental)


I finally got the hang of the oh-so popular smooching technique, and used it to make a burst of spring colors to set the stage for the fawn. Spring is like that - bursts out of nowhere! I am SO happy to see green trees again!
But, I digress.
I wanted to do a little something extra with the smooching though, so I used a Cuttlebug embossing folder to partially emboss the front. This triangle embossing folder by Cuttlebug is a great embossing folder staple - trust me, I only have two!


I topped off the card with a ever-so-slightly colored fawn from Storybook, die cut washi butterfly, an embossed sentiment from the Ellie stamp set, and a strip of washi.


That's all for me today - thank for stopping in and God bless!

******************************************


Supplies not shown:
Cardstock: Canson (white), Papertrey Ink (kraft), Bazzill (black)
Other: washi tape (Target), purple ink (Papertrey Ink), pink ink (Studio Calico), embossing folder (Cuttlebug)

4.25.2015

Papertrey Ink April Blog Hop challenge

Hello everyon! Before my day starts to get really crazy, I just wanted to stop in with a card for this month's Papertrey Ink blog hop challenge.


I love navy and pink together, so this challenge was super fun for me...


I was inspired by a card I saw a couple weeks back - I can't remember where right now, but if I do, I'll link to it.
UPDATE: I found the card - HERE it is.
The card had a couple buildings, and the tops of some of those buildings cut, so it's pretty obvious where my inspiration came from. ;)


I'm considering doing another version of this card, with different colors and more watercolorey.


I didn't use the second step stamp on all of the buidlings from City Scene, just to give it a retro vibe.

That's it for me today - thanks so much for stopping in and enjoy the hop!

******************************************
Cardstock: Canson
Stamps: Papertrey Ink "City Scene", Simon Says Stamp "Sending and Wishing"
Ink: Tim Holz, Studio Calico

Tools: Cuttlebug, Simon Says Stamp "Wishing" die

4.13.2015

Layering layered images // Altenew

Hot dawg.
This card was a frustrating one to make and photograph.
Ah well, I've put my behind in the past.

Er, I've put my past behind me. ;)


I played along with the Altenew From Places Abroad challenge photo as inspiration, so I started out by stamping a TON of Vintage Roses flowers in reds and blues. Then I cut out the flowers (which was a nice, mindless thing to do - and I do love being mindless) and started arranging them. Which is where all the trouble started.


I had the darndest time trying to make the colors work without being overwhelming, and then layering them all together. I ended up ditching the reds because they looked a little too dramatic with the blue, which made layering the flowers a lot easier but still a bit of a challenge.


I finally managed to get everything to work semi-cohesively, after a few nights struggle with the problem. I thought it'd be fun to show you a bit of the "evolution" of the card. ;)


Of course, there is still the problem of the gold embossing not matching the gold glitter leaves, but at this point, I am just happy to call it a day. Or a card. Whatever.

Thanks so much for stopping in and God bless!

***********************************


Supplies not shown:
Paper: vellum (Darice), cardstock (Canson)
Ink: Studio Calico Color Theory
Die: Papertrey Ink "Life is Sweet" die and woodgrain impression plate

4.12.2015

Layering cards // Avery Elle

I'm a guest over at Virginia's View challenge!


This month's challenge is layers and dimensions, and for me, layering cards are a bit like piecing together a puzzle.
I love pulling random elements lying around on my desk (pros of being a messy crafter!) and making them all work on one 4 1/4 x 5 1/2 inch canvas.
Sometimes I'll begin by pulling those random pieces together, and sometimes I like to make a focal point, and arrange everything around it.
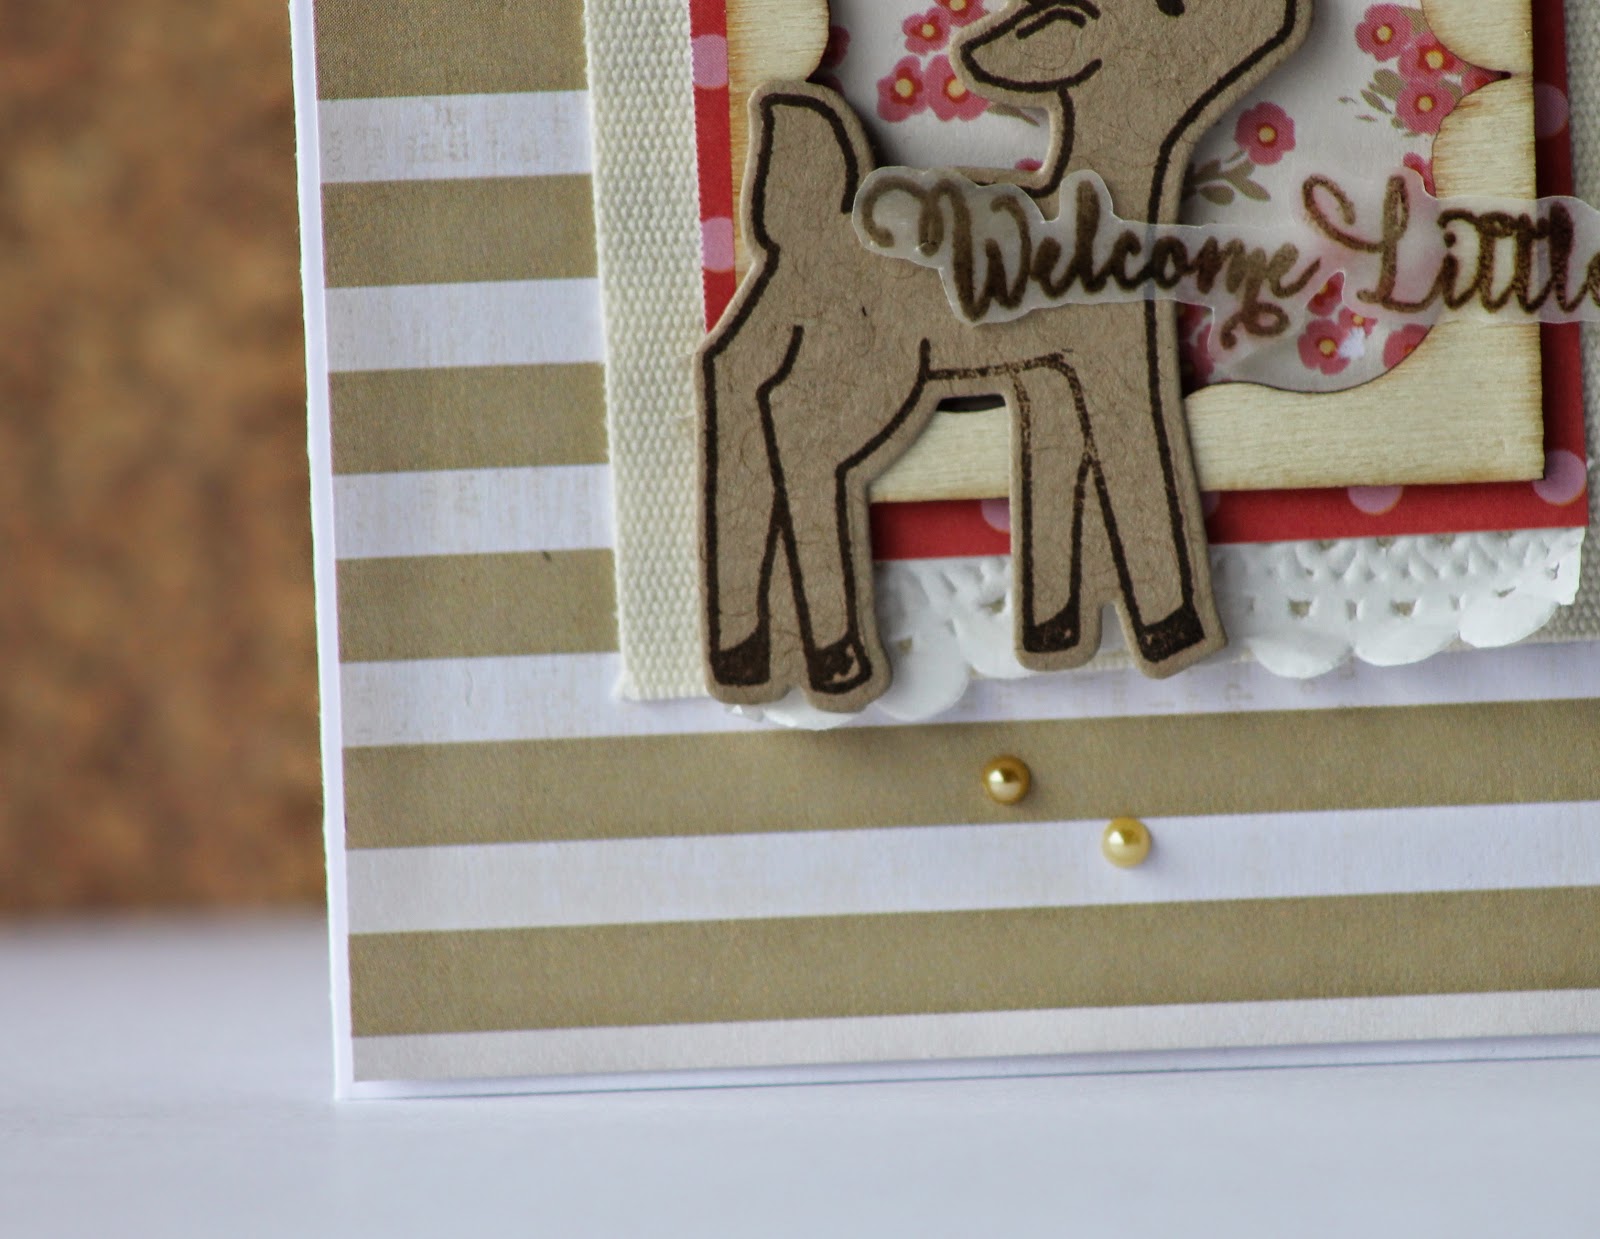
For this card, I knew I wanted to use the sweet little fawn from Avery Elle's Storybook stamp set, so I first stamped that, die cut it, and began to arrange everything around it.


Before I pulled all the elements of the focal point together, I found a piece of patterned paper that worked well with the fawn. The striped paper from the Dear Lizzy Lucky Charm 6x6 paper pad worked very well, because when I do layered cards, I usually try to make sure the largest piece of paper that is exposed on the card is a basic, lighter feel.

If you use a very busy pattern as the main paper, then it tends to distract from your focal point, so for the busier patterns, I use smaller pieces of and tend to concentrate them in one spot. Using papers from one company or paper pad usually makes it easier to make sure the layered papers flow together well.


Once I had my patterns picked out, I looked for textures.
On the focal point, I started with a piece of fabric that was a tag on a pair of pants in its previous life. Then I slipped a light piece of doily underneath the smaller, layered busy patterns, to lighten them up.
I used a wood veneer frame to set the stage for the fawn, and once the fawn was placed, I added some orange butterflies and pearls to add a pop of color to the card.


To make sure the card didn't get too heavy, I embossed the sentiment on vellum and cut it out for an airy feel.

Thanks so much for sticking through this long post, and thanks to Virginia for inviting me! Head over to the challenge blog to see all the amazing entries, and play along for a chance to win a Simon Says Stamp $25 gift card!

*****************************************

3.03.2015

Hero Arts // Pattern Hearts and Flowers

Last midterm is FINISHED! A few little odds and ends to tie up here and there before spring break, but after Thursday at 3:30, I am a FREE WOMAN.

Anyways, I digress.
This card is for the Hero Arts Nature challenge and for Virginia's View Embossing challenge.


I was very much inspired by THIS pin, and I used the Pattern Hearts and Flowers stamp set to make it happen.
First I heat embossed the image several times on the grey cardstock, not bothering with masking since I would be covering the majority of it up with some watercolored flowers. Then I heat embossed the flowers on some watercolor cardstock (masking this time around) then colored in using some water and ink pads. Trimmed the flowers out, topped with some gems, and adhered to the base, topped with a Hero Arts embossed sentiment. Ta-da!

Thanks so much for stopping in today and God bless!

*********************************************
Cardstock: Canson, SEI
Stamps: Hero Arts "Pattern Hearts and Flowers" and "Miss You So Much"
Ink: Versamark, Distress Inks, Color Theory
Other: gems (Darice), embossing powder (Hampton Arts)

Tools: heat gun

2.27.2015

Altenew // Vintage Roses

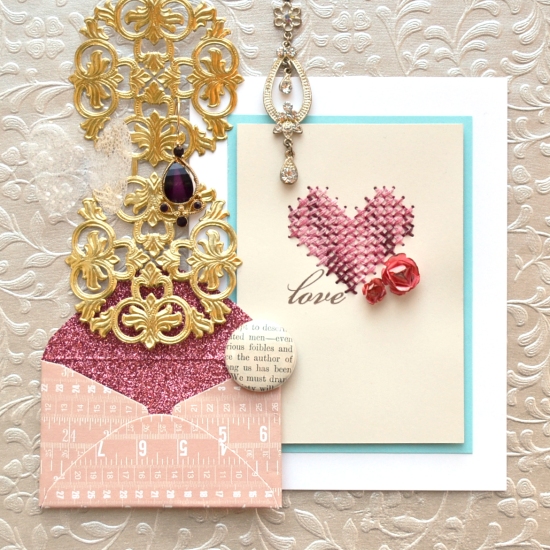
Playing along with Altenew's February challenge, using this beautiful inspiration piece...


...and also for Simon Says Stamp Wednesday Anything Goes challenge,
There is so much pretty in this picture that I had a hard time choosing which elements to focus on. In the end, I decided to mimic the embossing, jewelry, gold and pink, and then those little pops of blue.


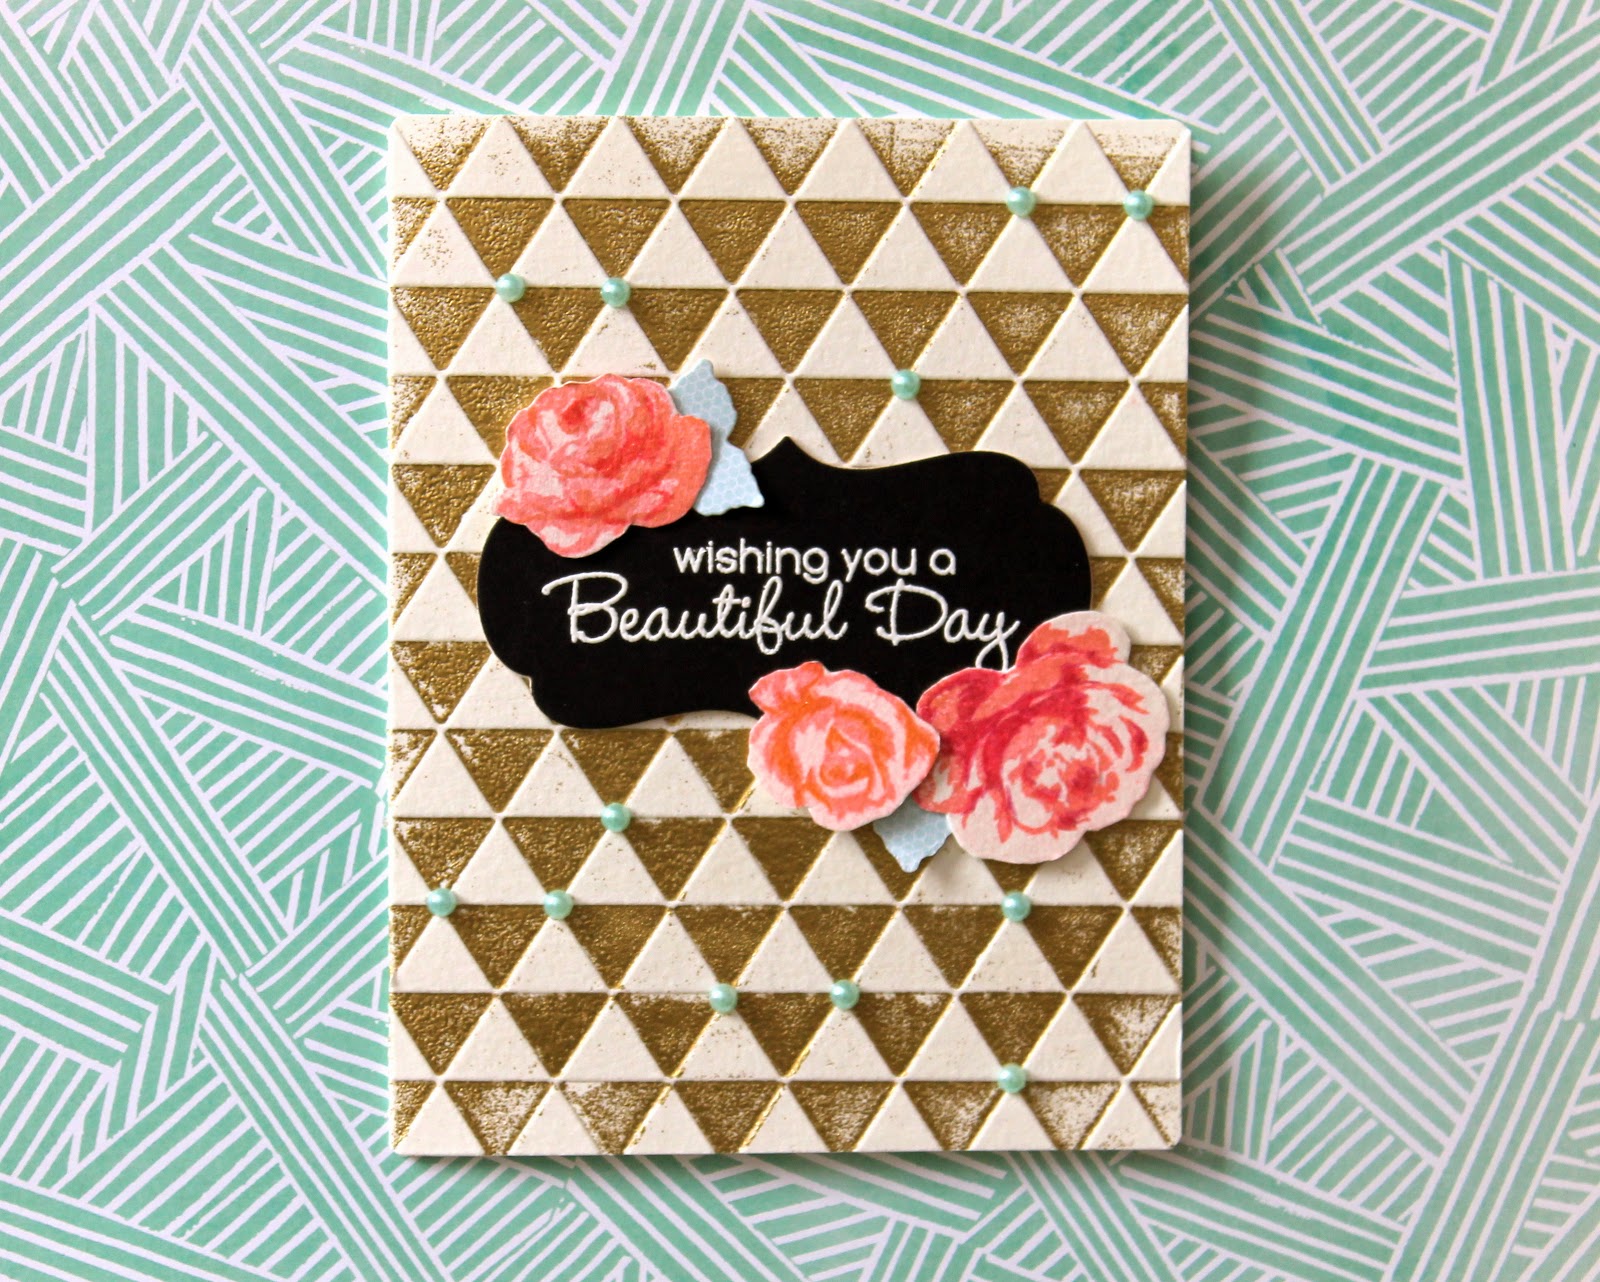
For the base, I took my Love Triangle embossing folder, then lightly wiped my Versamark ink pad over the raised part. I wasn't particularly concerned with getting perfect coverage, and once I embossed the front of the card base, I covered it with gold embossing powder. I had to brush off a decent amount of powder that was clinging to the wrong triangles, but it wasn't too labor intensive.
I topped off the card base with a die cut and embossed sentiment, then some roses from Altenews gorgeous Vintage Roses set - love love love this set! Again, I wasn't concerned with stamping the roses perfectly or using all coordinating inks - you should know that when I say "I wasn't concerned with", it's basically my code phrase for "I was too lazy/impatient". ;) Anyways, I trimmed the flowers, adhered them to the base with some scrap die cut leaves, and, to mimic the jewelry in the photo and to bring out the blue, I topped off the base with some blue pearls.

Thanks so much for stopping in and God bless!

*********************************
Cardstock: Canson, Bazzill
Stamps: Altenew "Vintage Roses", MFT "Framed Greetings"
Ink: Versamark, Studio Calico, Tim Holtz
Other: pearls and embossing powder (Darice)

Tools: Cuttlebug, Cuttlebug Love Triangles embossing folder, MFT Framed Greetings die, PTI Life is Sweet die, heat gun

2.25.2015

Papertrey Ink February Blog Hop Challenge

I was totally inspired by THIS pin. I was too lazy to get fancy with masking the stamped City Scene buildings, so I just freehanded it, using a bunch of random stamp pad for the colors.


You can't tell, but the "limit" has some Wink of Stella just because I wanted to put SOMETHING sparkly on there. ;)

Thanks so much for stopping in and enjoy the rest of the hop!

***************************************
Cardstock: Canson, Bazzill
Stamps: Papertrey Ink "City Scene" and "City Scene Sentiments"
Ink: Studio Calico, Hero Arts, Tim Holtz
Other: Wink of Stella

Tools: paintbrush, water

2.11.2015

Papertrey Ink // Simply Jane

For Papertrey Ink's All Things Spring challenge - I checked and I do not have a PTI stamp set that I have NOT inked up, so I  just went with a sadly neglected stamp set, Simply Jane.


To make sure the tails of the "p's" in "happy" didn't get lost in the navy of the "anniversary" sentiment, I inked the die cut with Versamark, covered with clear embossing powder, and heat embossed. This helps the "happy" to pop out and gives it a nice shine without going to the trouble of covering it with Glossy Accents.

Thanks for stopping in and God bless!

************************************
Cardstock: Canson, Bazzill
Stamps: Papertrey Ink "Simply Jane" and "Wet Paint I"
Ink: Studio Calico, Versamark
Other: vellum, embossing powder

Tools: Cuttlebug, Papertrey Ink Wet Paint I dies, heat gun

12.20.2014

hello

....AMURICA!! I am (finally!) back in the good ol' U.S. of A!


Plot twist: this isn't actually a Valentine's Day card. I didn't even realize how Valentiney this looked till now...about a half year later from making it.


The Wink of Stella makes up for any faults though (darn, I love that stuff)

God bless!

***********************************
Cardstock: Canson
Stamps: Hero Arts "Typewriter Notes"
Ink: Studio Calico
Patterned paper: Dear Lizzy "Lucky Charm"
Other: Wink of Stella, vellum

Tools: Cuttlebug, Simon Says Stamp heats die

12.09.2014

A Lot Like Christmas

My last final is finished, and all I have to do before I return home is clean! Soon I'll be like the sleigh here, flying back home..;)


It actually doesn't look very much like Christmas here in Gaming - it's been pretty dreary. I think the mountains are hiding a lot of the sunshine away for themselves.

*****************************
Cardstock: Canson
Patterned paper: Studio Calico
Stamps: Papertrey Ink
Ink: Studio Calico
Other: glitter, vellum, embossing powder

Tools: heat gun

11.24.2014

Blimey!

I'm headed to London this weekend!


This card is very subtle, and very fun to make.


I used the negative to make another card...


Two papers before the final stretch! 
Thanks for stopping in and God bless!

********************************
Cardstock: Canson
Stamps: Papertrey Ink
Ink: Studio Calico

Tools: Mama Elephant Alphabet dies, Cuttlebug

10.13.2014

Fresh Watercolor

I'm over on the Pinkfresh blog today with some fresh watercolor cards!

I had SO much using Sweet Dreams stamp set! For this card, I used Staz-on ink so that the image wouldn't run after I went over with the watercolors.
After stamping, I sprayed the panel with water. Then I pressed my blue ink pad against a clear stamping block, added some water, then used a brush to apply it to the panel. I used more concentrated ink on the top, and more diluted water for the bottom.
Once the ink had dried, I used my paintbrush to "paint" clouds using only water. Then I placed a paper towel over the clouds while they were still wet, and picked up the wet ink, creating the shadowy clouds you see here!


Does this pink watercolor circle look familiar? Yep, I totally stole it off the logo. ;)
I masked off the circle for this card, and added the pink ink like I added the blue ink to the card above. Then I flicked some water on the card, and again, picked up the ink with a paper towel.
To achieve the smear affect, I added some water to the right side of the card, and dragged it off with the paper towel.
I then topped with off with the sentiment/image stamp from the Limited Edition Kit, and some cute Pinkfresh wood veneer hearts!


So there you are, two super easy but super fun watercolor cards!

Thanks so much for stopping in and have a fantastic day!

10.10.2014

I Like Your Face

I'm feeling slightly funky tonight, so I searched awhile through some old card drafts, looking for a "sassy" number.
This ain't sassy so much, but it's as close as I could find.


I colored the wood veneer with nail polish - I love the different effects you can get with different nail polishes. For instance, the green and yellow letters almost have a Glossy Accents look to them IRL, while the blue and red look more like really stained wood.

Anyways,let's keep this post sassy, sweet, and short.
Peace.

9.14.2014

Freshening Things Up

As forewarned, this blog has been sadly neglected, but since I'm sick and not feeling very studious, I thought I'd pop in with a nice bouquet of flowers to freshen things up. :)

I made this card quite a while back, inspired by THIS pin,


Stamping and arranging these flowers was so fun and relaxing.


I hope you all are enjoying all the fabulous new stamp releases I've seen come out!

*************************************
Cardstock: Canson
Patterned paper: Crate Paper "Styleboard"
Stamps: WPlus9, Papertrey Ink
Ink: Tim Holtz, Studio Calico, Brilliance, Stazon
Other: gems

Tools: Cuttlebug, WPlus9 dies, Nestabilities 

9.08.2014

Pinkfresh Studio & Pretty Little Studio Blog Hop


Pinkfresh Studio is so excited to join with Pretty Little Studio today to inspire you with some cute creations. Pretty Little studio is known for their vintage inspired products which are so fun and colorful. And mixing them up with unique and colorful Pinkfresh Studio embellishments definitely has created awesome projects. We have a list of designers from both companies here who are so thrilled to share their projects with you. Make sure to visit each blog and comment on each blog to enter a giveaway including Pinkfresh Studio blog. One winner will be chosen for each day and winners will receive 30.00 worth of stuff from Pinkfresh Studio and 30.00 GC from Pretty Little Studio. This is going to be two days of blog hoping fun. Winners will be announced on 9/15. Good luck!

Welcome to day one of the blog hop! 
Pretty Little Studio has the CUTEST die cuts, papers and embellishments, and I had so much fun playing with them! I particularly liked their die cuts, and I just love ALL of their gold sticker products.
So I combined my two favorites, Aster Gold Ribbons and Poppy #2, along with some patterned paper on my card, and then a Pinkfresh Studio stamped sentiment to tie everything together! 


For my second card, I decided to go the opposite route and focus on the stamping, topping off the subtle background created with the Think Less Live More stamp set with the adorable Frisbee.


Isn't he just adorable?

Only a few more stops to finish up today's hop! Thanks SO much for joining me!!

  Clare Prezzia <<<<<  you are here!


*****************************
Card #1
Cardstock: Bazzill
Stamps: Pinkfresh Studio Limited Edition Kit stamp
Ink: Stazon
Paper, die cut and sticker: Pretty Little Studio "Marigold"
Other: gems (Michaels)

Card #2
Cardstock: Bazzill
Stamps: Pinkfresh Studio "Hello" and "Think Less Live More"
Ink: Studio Calico, Versafine
Die cut: Pretty Little Studio "Marigold"
Other: gem (Michaels)