Showing posts with label Staz-on. Show all posts

12.31.2015

Tag-o-rama // Throwback Thursday

Today is a slightly different project - instead of a card, there are TAGS.
Shocker, I know!
I had so much fun making the first small, texture packed, vintage little tag, published in the CREATE November 2012 pub.
The second and third tags were more of an afterthought haha.

******************************************

Two Christmas tags using these addicting little wod

Super vintagey...


Don't know if you can see the burlap behind all that shtuff. :)


Some pearls, a sticker, twine, and pretty paper...


And then something a little more elegant....


Some little gems...


Glossy Accents on the ornament to make it look more realistic...


And then a CAS modern tag...


Thanks so much for popping in and have a beautiful day!

*****************************

Tag 1
Patterned paper: My Minds Eye 'Lost and Found'
Stamp: PTI 'Tag It's #2'
Ink: Ranger, Staz-on
Other: twine, pearls, burlap, button, sticker (K&Company), wooden tag, lace (Hero Arts)

Tag 2
Other: die cut (K&Company), ribbon and gems (Bearydo Shoppe), Stickles, button

Tag 3
Other: die cut (K&Company and Martha Stewart), pearls, ribbon

12.17.2015

Happy Snowman // Throwback Thursday

Yet another CREATE November 2012 pub - this is a trend simply because it's easier to find my holiday cards drafts this way.

****************************************


Kristina Werner style here (I can't think of faux stitching, much less white faux stitching without thinking of her style ;))


A nice ol' grosgrain bow topped off with a button from my mom's button jar...


That's it for me today - enjoy your day and God bless!

************************************
Cardstock: LSS
Patterned paper and sticker: SEI
Stamp: Hero Arts 'Merriest Christmas Wishes'
Ink: Staz-on
Other: button (stash), ribbon (Celebrate It!), gel pen

Tools: trimmer, adhesive, scissors

12.10.2015

Christmas Card Set // Throwback Thursday

This is another CREATE November 2012 pub - this set was fun to make, and could be super easy to mass produce, if you simply substituted patterned paper for the stamped background, and a connected text/script die for the sentiments.

***************************************


These letters were a little tricky to line up - I'm still hoping that one day I'l find the secret to lining up these individual alphabet letter dies perfectly.


Close-up on the stamped part...


All together now...


Thanks for stopping in and God bless!

********************
Cardstock: LSS
Stamp: PTI 'Year of Flowers'
Ink: Staz-on, Copic

Tools: trimmer, adhesive, scissors, Cuttlebug, PTI Block Alphabet die

3.26.2015

Paper Smooches // Throwback Thursday

Today's Throwback Thursday (a way for me to clean out my 100+ drafts....whew, this is gonna take awhile...) is circa June 2012.
My thoughts on the card from three years ago:

I wanted to make a boy themed card using the Paper Smooches turtle image.


I'm not quite sure if I like it or not, but I decided to share it anyways. ;)


To create the notebook edge without a notebook edge punch, I simply punched holes, and cut slits with a scissors. Ripping the edges up a bit helps add to the look. ;)


Embossed sentiment to make it pop out from the patterned paper...


Thanks for popping in and God bless!

********************************

Cardstock: LSS
Patterned paper: K&Company 'Cut N Paste', My Minds Eye 'Stella and Rose'
Stamp: PTI 'Mat Stack 1'
Ink: Tim Holtz 'Tea Dye'
Other: gems, Martha Stewart embossing powder, Crate Paper sticker, Tim Holtz paperclips

Tools: trimmer, scissors, adhesive, Cuttlebug, PTI Mat Stack 1 die, hole punch

11.05.2014

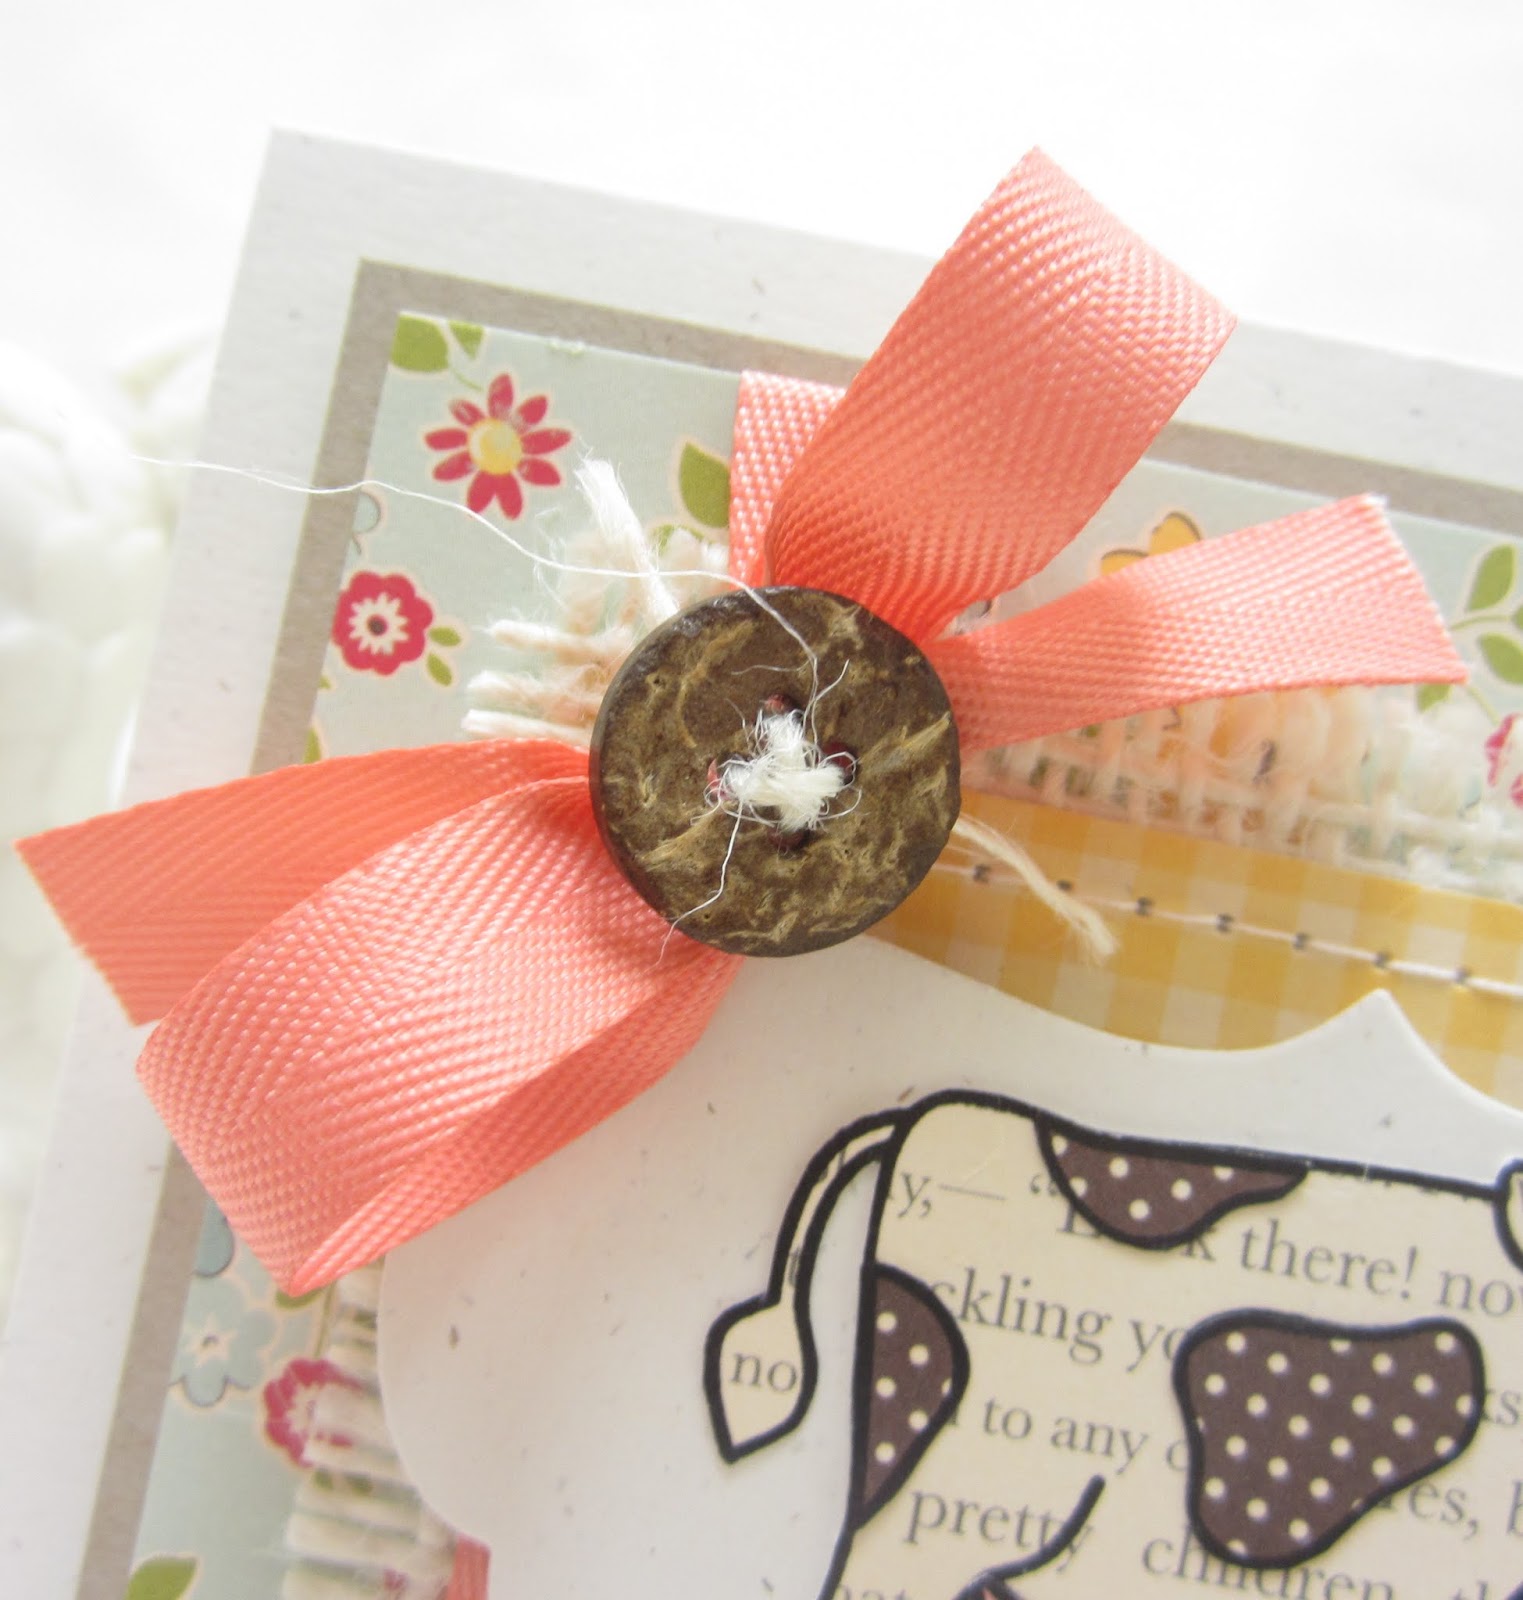
Moooove me

While I can't make any cards in Austria, I can start cleaning out my old draft closet, and start posting some old cards.

I had the cow all stamped and layered, and built the rest of the card around it.


I have a lot of detail pictures...I used to do it all the time, but I've stopped since I felt like they were unnecessary, but what do you think?

I still love these coconut buttons.


That's the oldie for today! Thanks for stopping in!

*************************************
Cardstock: LSS
Patterned paper: October Afternoon "Sidewalks" and "Fly a Kite"
Stamps: Lawn Fawn 'Critters on the Farm'
Ink: Staz-on
Other: button (stash), burlap (Joann's), paperclip (Tim Holtz), ribbon (PTI)

Tools: sewing machine, Cuttlebug, MFT Framed Greetings die, scissors, adhesive, trimmer

12.16.2013

You are

....amazing! Thanks SO much for all the sweet comments lately! I just finished finals, had some friends over for a couple days, and now I'm sick, so it will be a while before I can return the compliment, but just wanted to know you are appreciated. :)

Anyways, here's an old Create: Vintage January '13 pub - the brightness of it just makes me happy, and I thought you might like it too. ;)


Not my usually pink and blue color scheme for shabby cards, but I like it for a change. :)


Pretty hemp cord, flower, and metal medallion....


A little navy ink peeking out at the bottom to bring out the navy in the die cut...


Thanks so much for stopping in today and God bless!

*********************************
Cardstock: LSS
Patterned paper: K&Company 'Cut N Paste'
Stamps: PTI 'Year of Flowers', Martha Stewart
Ink: Colorbox, Staz-on
Other: die cuts (K&Company), doily and metal medallion (stash), tag and hemp cord (Darice), brad and rose (Recollection)
Tools: sewing machine

10.26.2013

Because I'm not studying Latin

...because I have a sore throat. Again.

Just popping in to share a card that was published in February '12 CREATE magazine...


I can't usually pull off that neat clean-and-graphic-with-a-punch card, so I'm pretty proud of this card. :)


Now I'm going to vegetate on a couch and try and sit this silly sickness out.
Thanks for stopping in and God bless!

************************************
Card recipe
Cardstock: LSS
Patterned paper: My Minds Eye
Stamp: PTI
Ink: Staz-on
Other: string, pearl

9.07.2013

Well

...hello there! It seems that the explained absences always turn out to be much shorter than the unexplained ones. ;)
This is an old card from around...2009, I think...? It was for the GCD Studios newsletter - challenge; piling on the layers. I didn't take this challenge so much as piling on tons of paper, but just piling on...stuff! :)


Btw, I posted about the Creating Keepsakes and Paper Crafts magazine announcement over at Commuter Crafter. I'm telling you because it's actually relevant to this blog, but also for scholastic reasons (no, seriously ;))

Thanks for stopping in and God bless!

6.18.2013

Simply the Best

Just popping in with a quick, fun set I made with a new stamp set...


The little additional sentiment could be seen as tacky for some cards, but for these quirky cards, I think it goes perfectly with the old rub-ons.
Speaking of the rub-ons, they're super old American Crafts rub-ons that I pulled out for the Sweet Stamp Shop Use What You Have #5 challenge...


and then topped with some old Prima pearls as well...


And my desk when I was finished...


I had been in a cardmaking frenzy that day, so only a small part of it was actually due to this pair. ;)

Thanks for stopping in!

6.01.2013

Celebrate

...just for fun!
This card was published way back in the CARDS September '12 issue...


Just an little ditty on stuff I've been up to lately:

I'm learning how to play the guitar! It's so fun, and perfect to sing along with (which I love to do)! A friend gave me a couple lessons over last semester, and now that she's gone for the summer, I'm getting 'official' lessons from a local music teacher. With my younger sister at the piano, my older sister on the ukulele and harmonica, older brother on the banjo, and younger brother on the bagpipes, we're gonna have ourselves a regular ol' band! That is, once we all get practiced enough - we're all rather late to this music thing. ;)

Alas, I still have no job. I even tried some craft stores, but nope, nothin' doing. :(

I totally reorganized my craft room, and I will have a 'tour' video up soon!

Spent a whole week up in Madison, WI with a couple brothers, a friend and one of my sister's - SO. FUN. Met a lot of people who were amazing examples of Christ-centered lives, had an impromptu 'jam' session, and basically did a bunch of random things. ;)

I hope you've been enjoying this summer as much as I have been so far!

******************************
Cardstock: LSS
Patterned paper: GCD Studios 'Splendor'
Stamps: Hero Arts 'Ledger' and ' '
Ink: Versamark, Staz-on
Other: string, pearls (Queen and Co), chipboard (Jenni Bowlin)

Tools: trimmer, adhesive, scissors, Glossy Accents, PTI Tiny Tags die, Cuttlebug

5.28.2013

Throwback Tuesday #11

A scrappy card for today's Throwback Tuesday!

The deets: every Tuesday, I will post a card that has been sitting in the draft closet too long. At the end of each month, I will randomly select a winner from all the valid challenge entries!
The challenge: link up an old papercraft related blog post, card photo, or post one of your old drafts/pictures! An additional entry will be given to those who comment on the Throwback Tuesday posts for that month.
The prize: a big ol' box stuffed with scrapbooking goodies!
Sorry, but due to crazy shipping costs, this challenge is open to the US only!

Thoughts from June '11...

At first I wasn't sure why I had gotten this Sassafras line, but after awhile, I realized it was perfect for those fun, no-frills cards for gals. I know putting buttons and bows on cards is more fun for me, but it seems most people round here like the clean and simple stuff.


I got this small box of flowers by Making Memories at a local discount store, planning have it as a giveaway. But then I accidentally pulled a few out when musing what to put on a card, and then I realized how much fun these were. So, maybe when I go back to the store, if I see another box, I'll pass it on, but this one's mine. :)

And now you can link up your card for a big ol' box of goodies!


***********************************
Card recipe
Cardstock: LSS, Bazzil
Patterned paper: Sassafras "Indie Girl"
Stamp: Hero Arts "Sending Smiles messages"
Ink: Staz-on
Other: Making Memories flowers, Prima pearl

Tools: trimmer, adhesive, scissors, Glossy Accents, Fiskars border punch

4.30.2013

Throwback Tuesday #7

I hope you've been enjoying the posts so far - today I have one of the first cards I made for GCD Studios as a design team member. :)

The deets: every Tuesday, I will post a card that has been sitting in the draft closet too long. At the end of each month, I will randomly select a winner from all the valid challenge entries!
The challenge: link up an old papercraft related blog post, card photo, or post one of your old drafts/pictures! An additional entry will be given to those who comment on the Throwback Tuesday posts for that month.
The prize: a big ol' box stuffed with scrapbooking goodies!
Sorry, but due to crazy shipping costs, this challenge is open to the US only!


The fix: I think this card is pretty cute, and the fact that it could work so well for girls or boys really makes me want to go easy on it. Plus, I had a limited amount of supplies, so, for now, I would maybe stamp a subtle background on the cream panel so it wouldn't look so blank. The chipboard tassels are cute, but they look just a little wonky...I'm not sure how I would fix that now.

Thanks for popping in today and God bless!


********************************
Card recipe
Cardstock: Unknown
Patterned paper: GCD Studios "Fun House"
Stamp: Papertrey Ink
Ink: Staz-on
Chipboard elements, string, and dot: GCD Studios

Tools: hole punch

4.07.2013

Hello

I'm here today with my second attempt at Craft Dash's challenge #15 - the first one didn't make the time cut. ;)


I was pretty excited about this color combo - something about that navy in there just spices things up a bit, don't ya think?

And then there's this cool Tuesday Trigger photo for additional color inspiration...


...and now the card that took me 9 minutes and 42 seconds to make...


For some reason, the flower looks peachy in the photograph, which is odd, because I haven't noticed my camera having problems picking up certain colors before. It's actually a nice shabby pink, in real life - the video (below) seems to pick up on this better.


And guess what? I actually edited and uploaded the video 'documenting' this process  - it makes me so happy, because I haven't been able to edit my videos on Picasa since getting my current camera a year and a half ago. I tried Googling my problems, but it was just such a mess, I gave up. So I just recently tried Windows Movie Maker and that seems to be the trick! Plus, for some reason, the edited video uploads way faster on YouTube than the unedited version - weird, right? Anyway, here it is, with minimal editing since I didn't want to spend a lot of time on something that might not work;


Thanks for stopping in today, and God bless!

***************************************
Cardstock: LSS
Patterned paper: Crate Paper
Stamp and dies: PTI
Ink: Stazon
Other: glitter (Martha Stewart), silk ribbon, flower (Maya Road), pearls (Michaels)

Tools: Cuttlebug, dies, Xyron sticker maker

3.28.2013

Project Thursday {you're the best}

I'm over at the Precious Remembrance blog today with a real quickie - it's Holy Thursday, and a couple brothers are in from out of town, so I want to enjoy my time with them! :)
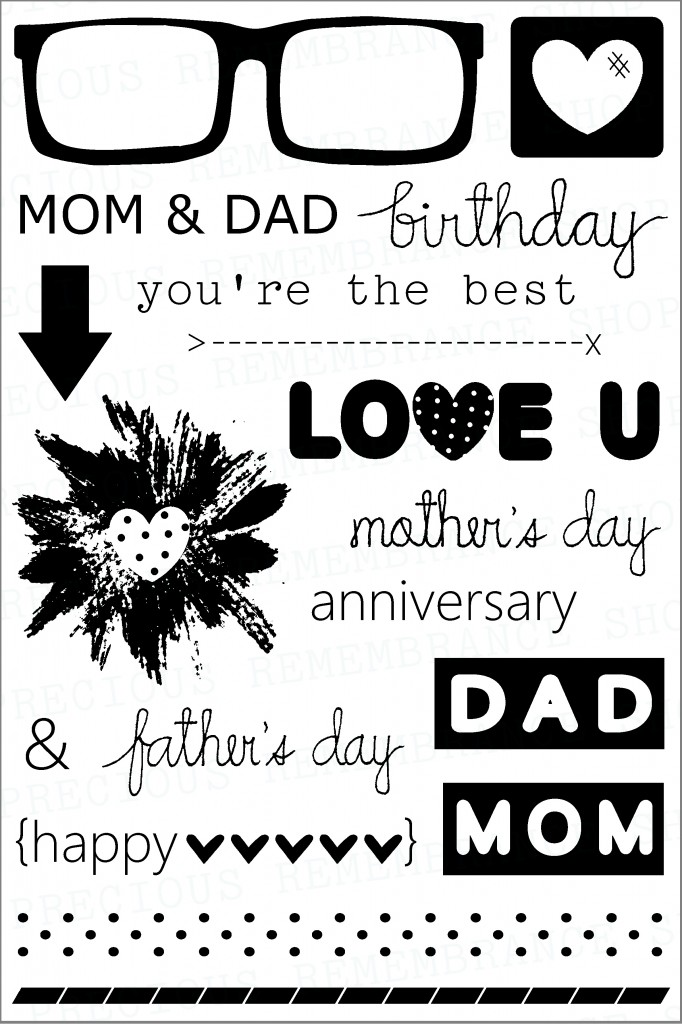
Like I mentioned on my release day post for the new Mom and Dad set, I made a similar card to the release day card to share with you today!


Gah! I just swoon everytime I see these glasses! These would also be perfect for Valentines Day and love cards. ;)


A few buttons finished off the wonky look...


That's it for me today! I hope you have a blessed Easter!

3.13.2013

Precious Remembrance {New Release!}

Hiya peeps! I'm here today (late!) with a card debuting the newest Precious Remembrance stamp set!
Okay, what is there NOT to love about this set, Mom and Dad?!


I was so excited getting this in the mail, not only because of the unique and adorable images, but the fact it's Mom and Dad themed. Good parent themed stamp sets seem rare, and this one is a gem!


Don't you just LOVE those glasses?! So cute! I had fun making this card, and on my next Project Thursday post, you'll be seeing another version of this card (just because I loved the washi and color combo so much)

Be sure to check out the blog for the amazing cards by the rest of the design team (including our two new members - congrats!) AND for a chance to win this stamp set!
Thanks so much for stopping in today and God bless!

3.08.2013

Sweet freedom!

...spring break is here at last! That being the case, I will be able to catch up on blogging, cleaning, sleeping, and crafting!
I'm popping in today to share a pub and a magazine!
This was card was published in the February Create book...nice and flat for mailing...


Aren't these houses just the cutest? So wonky and whimsical! 
Using some papers from Bazzill's 'Wayfarer' collection - I am in love with it and the Vintage Marketplace collection! Oh, and by the way, I only recently realized Bazzill had two 'l''s in it - all this time I've been putting 'Bazzil' down in the supply lists! lol duh!
 

The sentiment stamps from the Mi Casa stamp set (another fave) coordinate perfectly here...


And now for that magazine...the last issue of the PaperCut I'll be in *sniffle* It's been a great two years with GCD Studios. :)
Ooo, and aren't those eggs the cutest!?

I'll be popping in again soon to catch up on the Throwback Tuesdays posts, and an awesome new stamp set from Precious Remembrance!
Thanks for stopping in and God bless!

******************************
Cardstock: LSS
Patterned paper: Bazzill Basics 'Wayfarer'
Stamps: Hero Arts 'Love From Our House' and 'Mi Casa'
Ink: Staz-on

Tools: trimmer, adhesive, scissors

2.04.2013

Hello Fun

Hello there! My card today uses the adorable Nostalgia collection by Diane Kappa aaannnd a nifty little trick I learned in the making!


I had assembled my papers, Plaid Blue, Floral Tile, and Olivia, when the critical moment came for stamping. I stamped my 'hello' on the Nostalgic cutout, but the image wasn't crisp! Simply put, I freaked - I only had one copy of the paper! What to do?! I tried shifting the paper around, but nothing worked.
Then, on accident, the answer presented itself in the form of my messy desk.
Whenever I'm not sure what image/sentiment I want to stamp on a piece of paper (especially my prized paper), I always like to stamp it first on a piece of clear wrap (like the kind embellishments are packaged in) with permanent ink, then cut it out, and place it over my card so I can get an idea of what that stamp would look like. I did it with this card, and that little test stamped 'hello' was floating on my desk when it caught my eye.
I trimmed it as close as possible, then used some vellum adhesive to adhere it over my stamped sentiment on the paper. Oila! The blotched impression is fixed!


A little bit of glossy accents make this 'fun' sentiment (sorry, couldn't resist ;)) pop out!

Thanks so much for stopping in with me today!


Blog: bearydocardsinc.blogspot.com